I saw an interesting video on Pinterest or it might have been YouTube, on resin art. I thought, hmmm that might be fun to try. I liked to effect and living near water wanted to create my own beach themed décor.
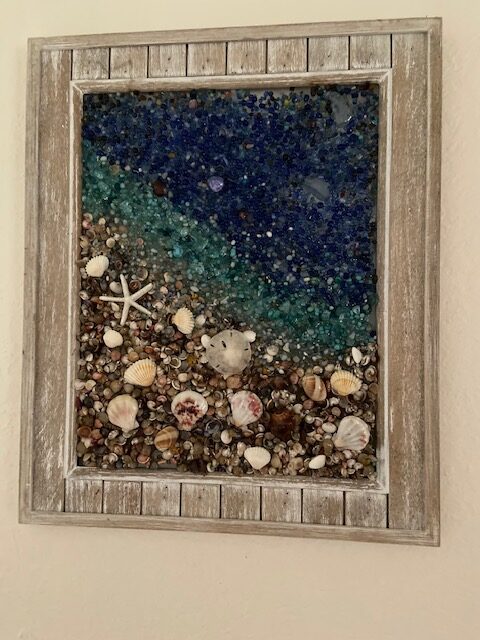
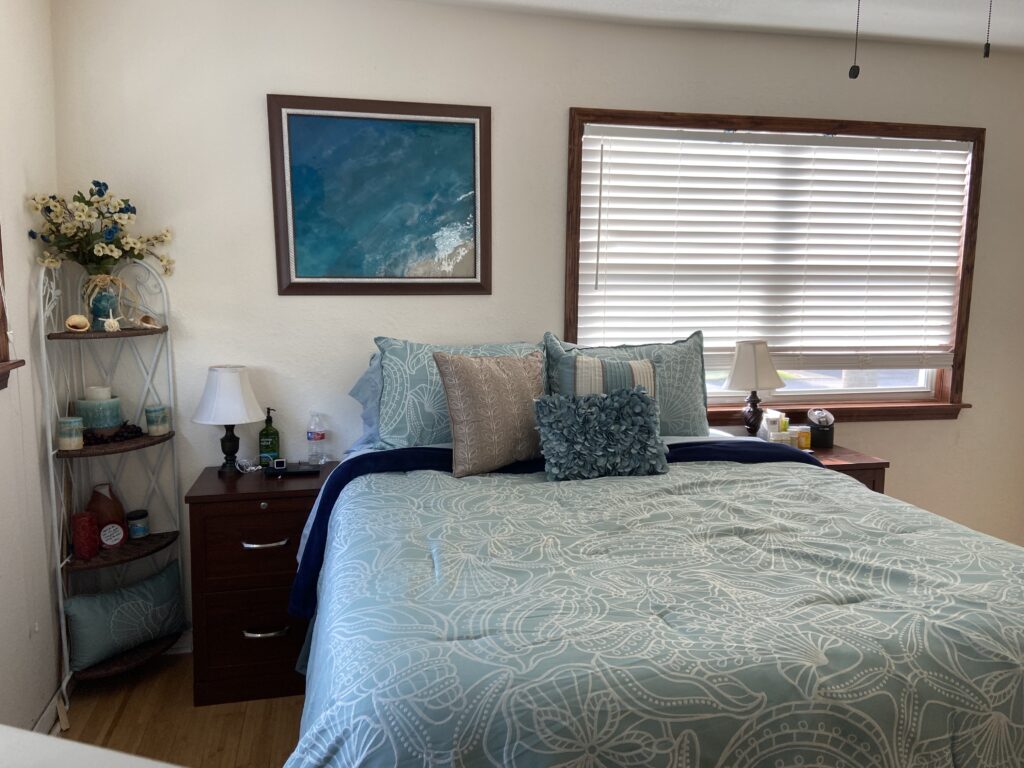
The first one I wanted to try was to take an un-used frame and create a 3D piece. I used blue masking tape on the back where there’s a small gap between the glass and the frame. I didn’t want the resin to leak through. The hardest decision was trying to figure out what I wanted to do. I saw so many cool variations by other artists. But this design caught my eye the best because although the more abstract works are awesome and I like them, I cannot actually do abstract myself.
The next step was pretty simple, mix the resin per the instructions, pour a little on the glass, start laying in the beads, pebbles, shells, and coat resin over the top, enough to “glue” but not so much to lose the 3D effect, and “rough” look. This is an 11×15 frame and it hangs in the entrance to our bedroom.
More Resin Work

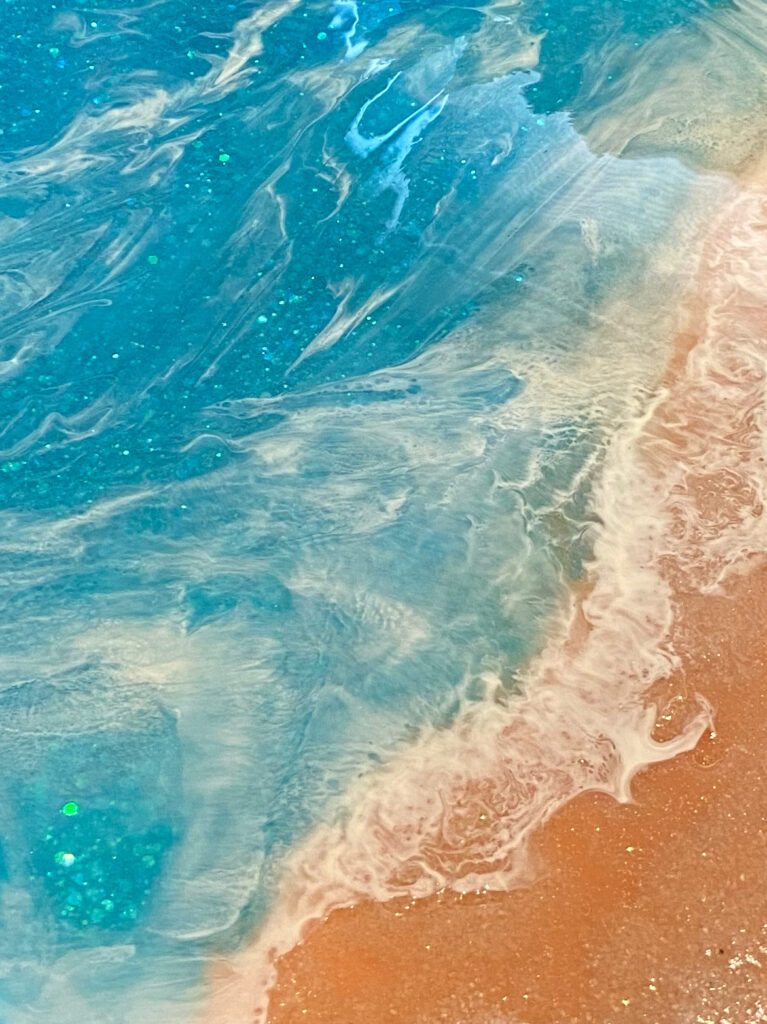
After the success I felt with the above project. I wanted to do more. So, back to Pinterest and YouTube for ideas. I saw videos on making resin look like water and of course a beach. So I was excited to try it out, and this time…bigger! I had another frame that was larger. I had tried painting on the glass with acrylics, and it was ok, but I wasn’t moved by it. So I scrapped all the old paint off, cleaned the glass, and decided this time I just wanted to play with the glass, not have the frame attached.
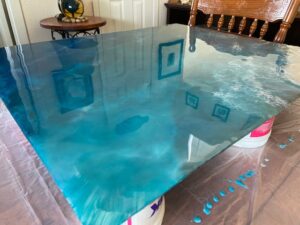
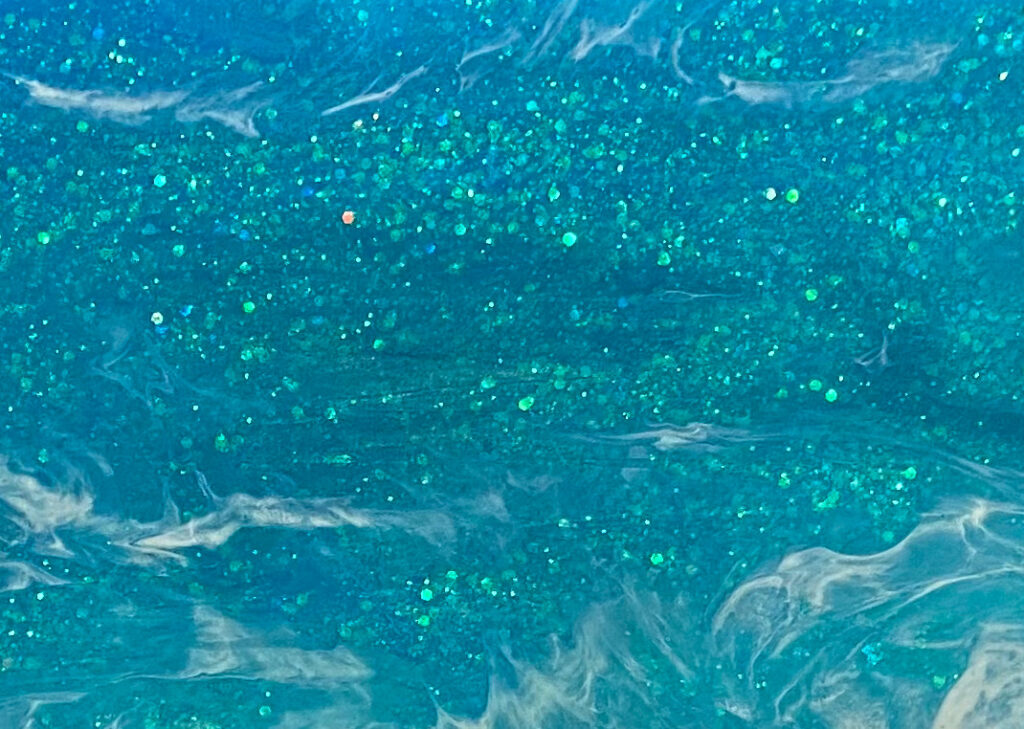
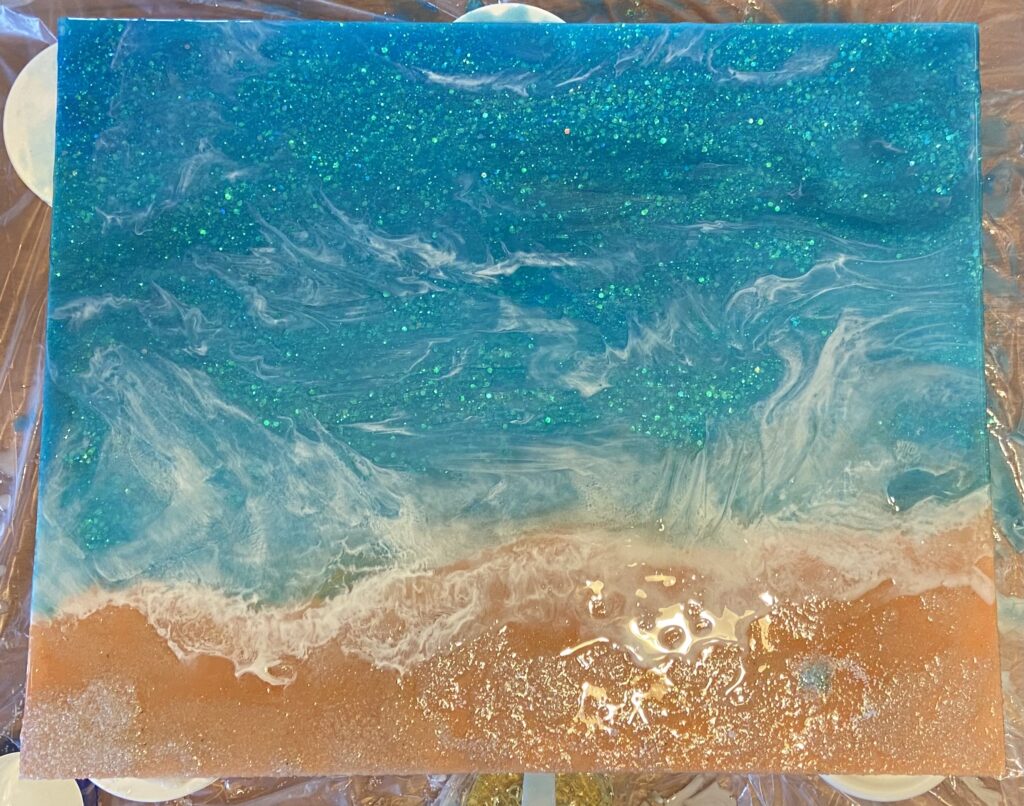
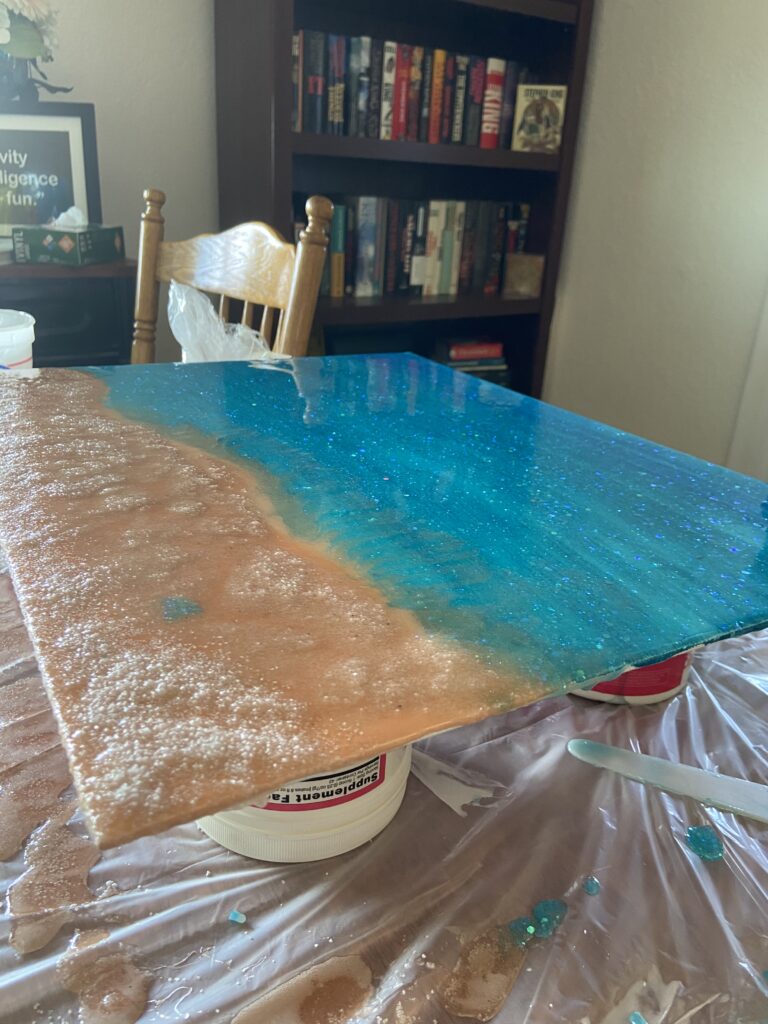
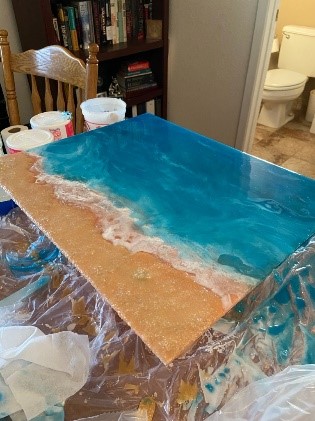
This piece took a lot of time, due to the layers needing to dry before adding the next. But the results of the layers give it a depth that pronounced. I add some resin mixed with white alcohol to get some “underwater” waves, to add to the effect and depth. They make a whole line of resin art pigments, but I just added a little craft paint. I used three different shades of blue, a dark, almost navy, a darker teal, and a lighter teal to create the deep water becoming shallow towards the beach.
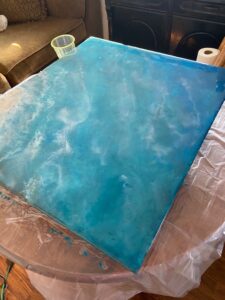
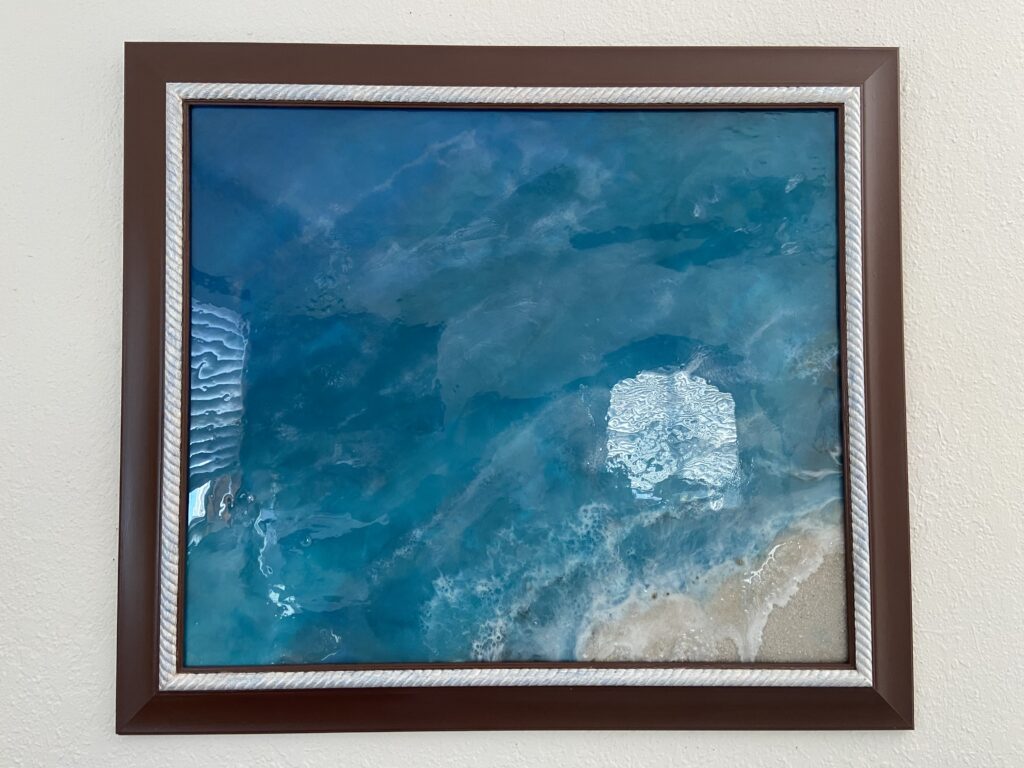
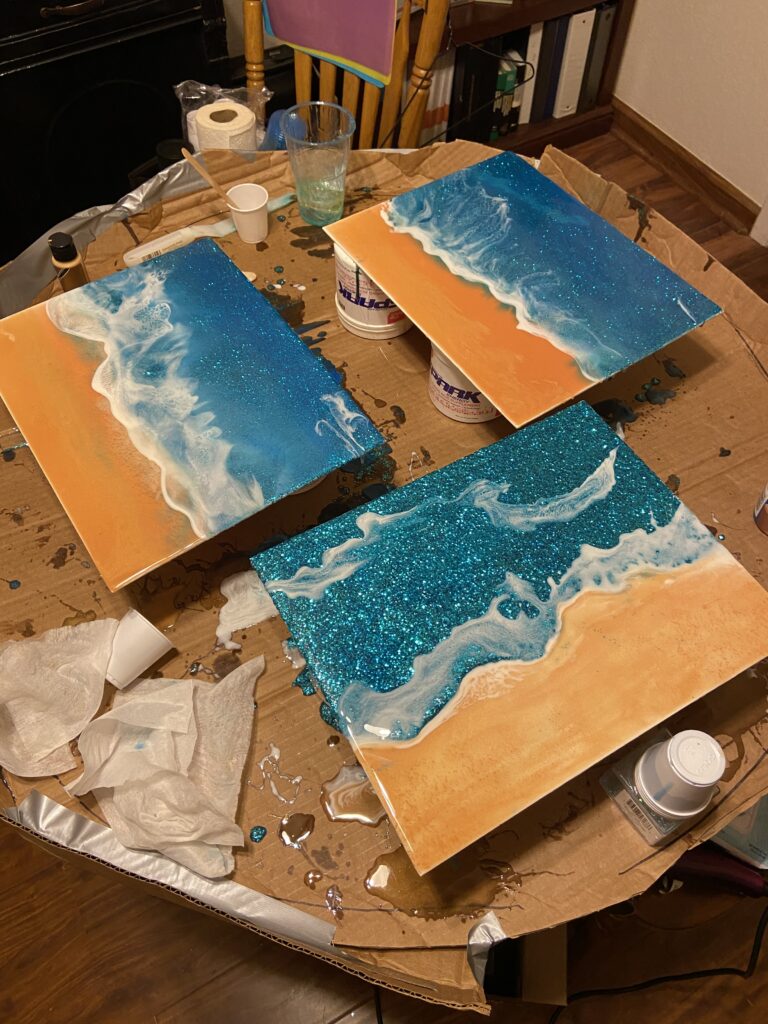
The first one turned out so awesome, to me, that I wanted to make more. I had some canvases laying around, so I kept creating. I saw an idea that added a little glitter to the first layer, so of course, I had to try that. Then slowly added layers with different blue pigments and adding underwater waves here and there. There are ample videos and how-to’s but I just wanted to play with some trial and error.
One thing I found, is don’t mix up too much resin at one time. It dries way to fast and ultimately is just wasted. Also as its setting up in the cup or whatever you mix it in, it also gets really hot.
Here’s a little gallery of the ones I made…
Love the resin art! Keep it up. You have a great eye.
Thank you! The resin art is one of the messiest, but also the most enjoyable.